Patching drywall holes is a common task encountered by homeowners and DIY enthusiasts alike. Whether it’s from accidental impacts, renovations, or wear and tear, knowing how to effectively repair these holes is crucial for maintaining the integrity and aesthetics of your walls. In this guide, we’ll walk you through the step-by-step process of patching drywall hole repair, ensuring a professional finish that restores your walls to their former glory.
Understanding Drywall Holes:
Before diving into the repair process, it’s essential to understand the different types of drywall holes you may encounter. These include:
- Small Holes: These are typically dime-sized or smaller and can result from nails, screws, or minor impacts.
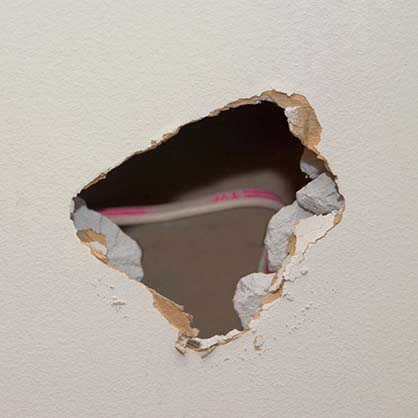
- Medium Holes: Ranging from one to six inches in diameter, medium-sized holes often occur due to doorknobs, furniture, or accidents during renovations.
- Large Holes: Holes larger than six inches are considered large and may require additional reinforcement for proper repair.
Materials Needed:
Gathering the necessary materials beforehand ensures a smooth repair process. Here’s what you’ll need:
- Drywall Patch Kit or Drywall Compound
- Drywall Tape
- Sandpaper (Medium and Fine Grit)
- Putty Knife or Drywall Knife
- Paint and Primer
- Dust Mask
- Safety Glasses
- Drop Cloth or Plastic Sheet
Step-by-Step Guide to Patching Drywall Holes:

Prepare the Area:
- Begin by clearing the area around the hole of any debris or loose drywall fragments.
- Use a vacuum cleaner with a brush attachment to remove dust and debris from the hole and its surroundings.
Patching Small Holes:
- For small holes, apply a small amount of drywall compound directly into the hole using a putty knife.
- Smooth the compound evenly over the hole, ensuring it’s flush with the surrounding wall surface.
- Allow the compound to dry completely according to the manufacturer’s instructions.
Repairing Medium Holes:
- Cut a piece of drywall tape slightly larger than the hole and place it over the hole.
- Apply a thin layer of drywall compound over the tape, extending it beyond the edges of the hole.
- Smooth the compound with a putty knife, feathering the edges to blend with the surrounding wall.
- Let the compound dry completely before sanding.
Fixing Large Holes:

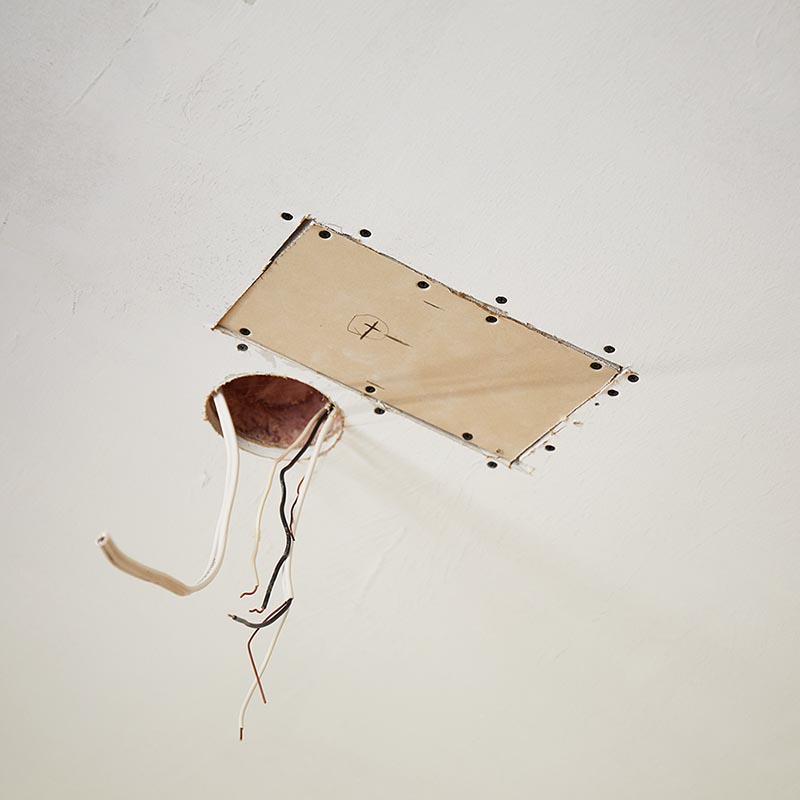
- Cut a piece of drywall slightly larger than the hole, ensuring it fits snugly into the opening.
- Secure the patch in place using drywall screws or adhesive-backed mesh patch.
- Apply drywall tape over the seams between the patch and the existing drywall.
- Cover the tape with a layer of drywall compound, feathering the edges for a seamless finish.
- Allow the compound to dry thoroughly before sanding and applying additional layers if necessary.
Sanding and Finishing:
- Once the compound is dry, use medium-grit sandpaper to smooth out any rough edges or uneven surfaces.
- Switch to fine-grit sandpaper for a final smooth finish, blending the patched area with the rest of the wall.
- Wipe away any dust with a clean, damp cloth before priming and painting the patched area to match the existing wall.
Although patching drywall holes may seem difficult, you can restore the beauty of your walls and get professional results if you use the appropriate equipment and procedures. You’ll be ready to handle any size of drywall repair by following this thorough method, which guarantees a flawless finish that raises the curb appeal and value of your house.

